Quickstart

The Validator Web Application
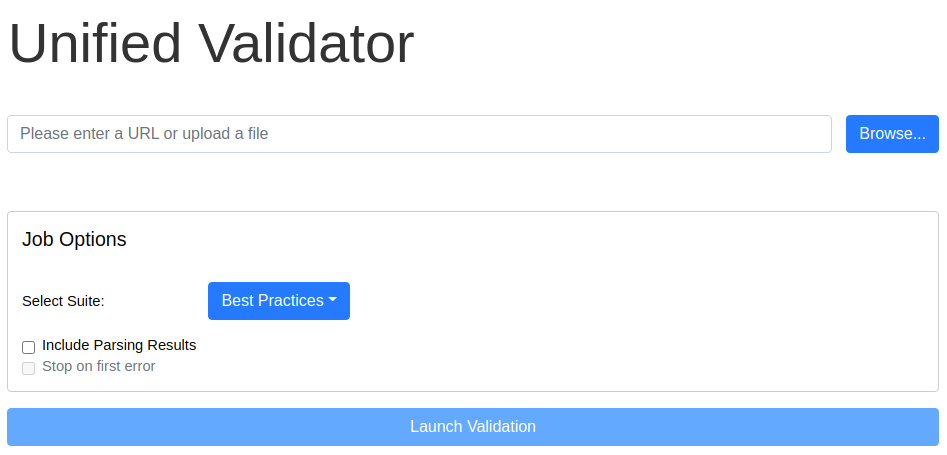
The first step is to select a file to analyze. This can be either a local file
(select it from disk using the Browse... button) or an http/https link
(type it in the text box).

In the first case, the file will be uploaded from your host to the validator server; in the second case, the server will download the file from the provided location. In both cases, the file will be deleted from the server after usage for security and disk space concerns.
If you have uploaded a file from your host though, it will remain available for 15 minutes. During this interval, you can run how many validation suites you need on the file, without having to re-upload it. Just select a new suite from the “Job Options” panel and click on the “Launch Validation” button again.
Once the file is available for the server, the “Launch Validation” button is activated:

You can now select the suite you want to run (default is Best Practice) from the drop-down and then launch it by clicking on the button.
Once file parsing and analysis is complete, you will be presented with the results of the analysis

An example of file validation results
The Pass/Warn/Fail result is clearly shown for every individual check. By clicking on the “Details” button you can learn more about the outcome of that specific check.
More details about Suites, Filecheck and results interpretation are provided in the following sections of this doc.